Easy Halloween Oreo Cake Bars Recipe
Halloween Oreos are the star of these incredibly easy and festive cake bars. They bring that fun crunch and spooky sweetness right into a soft, tender cake base. I love making these for parties or just as a fun afternoon treat when the autumn air starts to feel crisp. They are so simple to throw together, even if you're new to baking. The best part is how adaptable they are – you can easily swap out some of the sprinkles for different colors or themes depending on your mood. Ingredients: 1 (1 pound) box Halloween Oreos 1 (15.2 ounce) box French Vanilla Cake Mix ½ cup whole milk ½ cup Canola Oil 2 large eggs 2 cups Halloween Sprinkles, divided Non-stick baking spray Preparing the Batter The foundation of these bars is a simple cake mix batter, but we're jazzing it up with some extra special Halloween flair. To start, preheat your oven to 350 degrees Fahrenheit (175 degrees Celsius). This is a standard baking temperature that works perfectly for cake mixes, ensuring an even bake. Next, generously coat a 9×13 inch baking pan with non-stick baking spray. Make sure you get all the corners and sides; this step is essential for preventing your delicious bars from sticking, which would be a real shame. In a large mixing bowl, you'll combine all the wet ingredients and the cake mix. Pour in the entire box of French Vanilla Cake Mix. French vanilla gives a lovely subtle flavor that complements the Oreos without being overpowering. Add the ½ cup of whole milk.
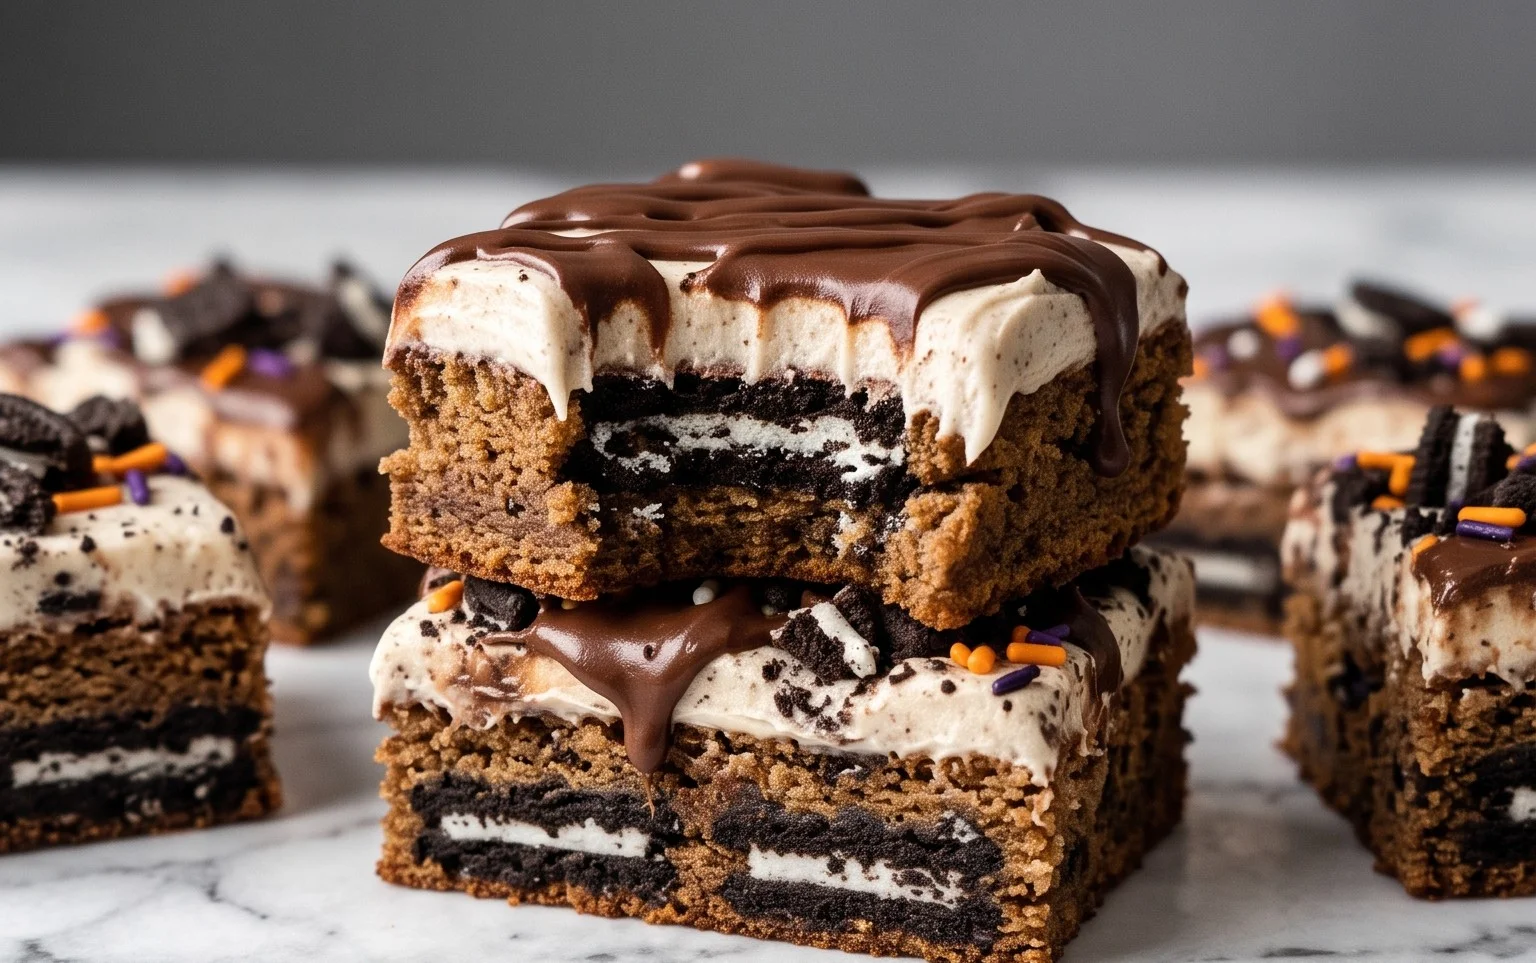
Halloween Oreo Cake Bars
Halloween Oreos are the star of these incredibly easy and festive cake bars. They bring that fun crunch and spooky sweetness right into a soft, tender cake base. I love making these for parties or just as a fun afternoon treat when the autumn air starts to feel crisp. They are so simple to throw together, even if you’re new to baking. The best part is how adaptable they are – you can easily swap out some of the sprinkles for different colors or themes depending on your mood.
Ingredients:
- 1 (1 pound) box Halloween Oreos
- 1 (15.2 ounce) box French Vanilla Cake Mix
- ½ cup whole milk
- ½ cup Canola Oil
- 2 large eggs
- 2 cups Halloween Sprinkles, divided
- Non-stick baking spray
Preparing the Batter
The foundation of these bars is a simple cake mix batter, but we’re jazzing it up with some extra special Halloween flair. To start, preheat your oven to 350 degrees Fahrenheit (175 degrees Celsius). This is a standard baking temperature that works perfectly for cake mixes, ensuring an even bake. Next, generously coat a 9×13 inch baking pan with non-stick baking spray. Make sure you get all the corners and sides; this step is essential for preventing your delicious bars from sticking, which would be a real shame.
In a large mixing bowl, you’ll combine all the wet ingredients and the cake mix. Pour in the entire box of French Vanilla Cake Mix. French vanilla gives a lovely subtle flavor that complements the Oreos without being overpowering. Add the ½ cup of whole milk. Whole milk adds a bit more richness than skim or 2%, contributing to a moister cake. Then, measure out ½ cup of Canola Oil. Canola oil is a neutral-flavored oil that helps keep the cake wonderfully tender and moist. Finally, crack in your 2 large eggs. Eggs act as binders and also contribute to the structure and richness of the cake.
Now, it’s time to mix. Using an electric mixer on low speed, or a whisk if you prefer a bit more arm workout, combine these ingredients until they are just incorporated. Be careful not to overmix at this stage. Overmixing can develop the gluten in the flour too much, resulting in a tougher cake. You want a smooth batter, but it doesn’t need to be whipped to death. A few lumps are perfectly fine.
Adding the Halloween Goodies
Once your cake batter is smooth, it’s time to add the stars of the show: the Halloween Oreos and the sprinkles. Take your 1-pound box of Halloween Oreos. You don’t need to do anything fancy with them; just roughly chop them into bite-sized pieces. You can do this with a knife on a cutting board or even pulse them a few times in a food processor if you want smaller crumbles. You’re looking for a mix of chunks and some finer bits to get that great texture throughout the bars.
Gently fold these chopped Oreos into the cake batter. A spatula is perfect for this. The goal here is to distribute them evenly through the batter, ensuring you get Oreo goodness in every bite. Try not to stir too vigorously, as you don’t want to break down the Oreos too much.
Next, we add the sprinkles. Take 1 ½ cups of your Halloween Sprinkles and gently fold them into the batter along with the Oreos. Reserve the remaining ½ cup of sprinkles for topping the bars after they are baked. Folding these in adds pops of color and fun to the cake itself. You want to distribute them well so that every piece of cake has a festive look.
Baking and Decorating
Pour the batter, now studded with Oreos and sprinkles, into your prepared 9×13 inch baking pan. Use your spatula to spread the batter evenly to the edges of the pan. This ensures that your bars will bake up with a consistent thickness.
Place the pan in your preheated oven and bake for 30 to 35 minutes. The exact baking time can vary depending on your oven. You’ll know they are done when a toothpick inserted into the center comes out clean, or with just a few moist crumbs attached. Avoid overbaking, as this will dry out your bars. If the top starts to brown too quickly, you can loosely tent it with aluminum foil.
Once they are out of the oven, and while the bars are still warm but not piping hot, immediately sprinkle the remaining ½ cup of Halloween Sprinkles over the top. The warmth of the cake will help them adhere. You can press them down gently with the back of a spoon if you want them to stick extra well.
Cooling and Cutting
Now comes the hardest part: waiting for them to cool! Let the bars cool completely in the pan on a wire rack. This is really important. If you try to cut them while they are still warm, they will likely crumble and be difficult to handle. A full cool down can take a couple of hours. Patience is key here for clean cuts.
Once completely cooled, you can cut them into bars. A sharp knife works best. I usually cut mine into about 16-20 bars, depending on how large I want them. You can also use a pizza cutter for easier slicing if you prefer.
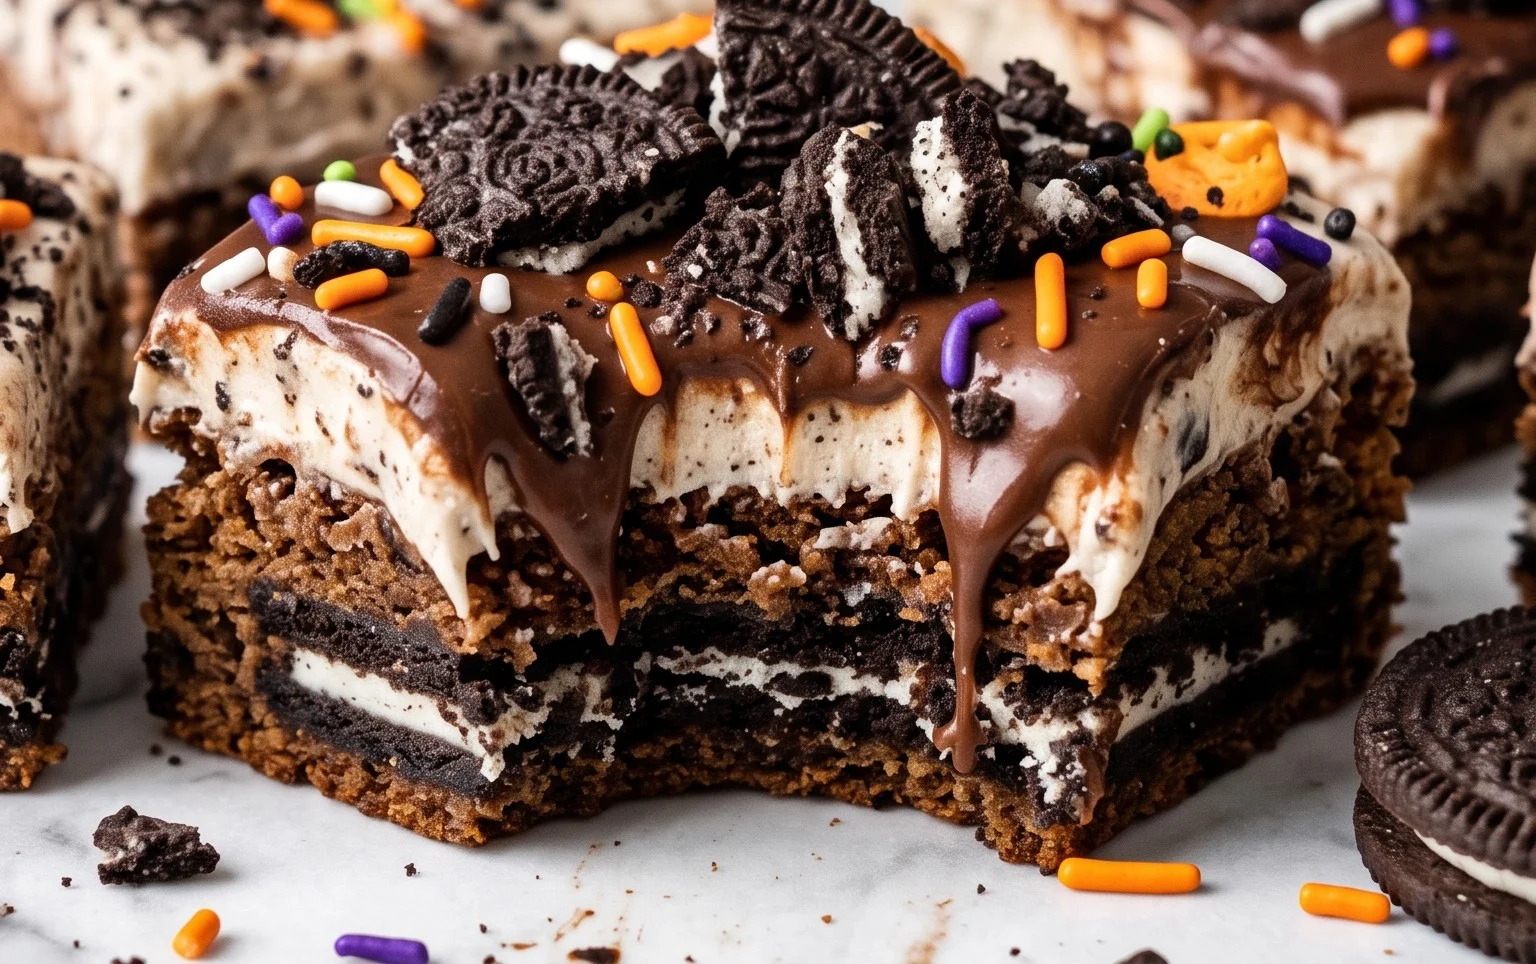
These Halloween Oreo Cake Bars are best stored at room temperature in an airtight container for up to 3 days. They are perfect for Halloween parties, school events, or just a fun, spooky treat for yourself and your loved ones. Enjoy the festive crunch and chewy cake!
Conclusion:
These Halloween Oreo Cake Bars are a fantastic, no-fuss dessert that always disappears quickly. The combination of soft cake, crunchy Oreos, and festive sprinkles makes them perfect for any fall gathering or just because. They really are as easy as they look, delivering big on Halloween spirit with minimal effort. Don't be afraid to get creative with the decorations – that's part of the fun!
Serving Suggestions:
Serve these bars at room temperature. They pair wonderfully with a glass of cold milk, a spooky-themed punch, or even a hot apple cider. For an extra touch, you could drizzle them with melted white or dark chocolate after they've cooled completely.
Variations:
Feel free to use a different flavor of cake mix, like yellow or even chocolate, though French vanilla is nice and mild. You can also use other crunchy cookies if Halloween Oreos aren't available, like regular Oreos or even chocolate chip cookies. For more Halloween fun, add some orange or black food coloring to the batter before baking.
FAQs
Can I make these ahead of time?
Yes, these cake bars can be made one to two days in advance. Store them in an airtight container at room temperature. They are best enjoyed within 2-3 days for optimal freshness.
How do I store leftover cake bars?
Store any leftover Halloween Oreo Cake Bars in an airtight container at room temperature for up to 3 days. You can also refrigerate them, but let them come to room temperature before serving for the best texture.
Can I use a different size baking pan?
Using a different size pan may affect baking time. A smaller pan might require longer baking and could lead to overcooked edges, while a larger pan might result in thinner bars that cook faster. A 9×13 inch pan is recommended for this recipe to ensure even baking.
Halloween Oreo Cake Bars
Easy and festive cake bars packed with Halloween Oreos and sprinkles for a perfect Halloween treat.
Ingredients
-
1 (1 pound) box Halloween Oreos
-
1 (15.2 ounce) box French Vanilla Cake Mix
-
½ cup whole milk
-
½ cup Canola Oil
-
2 large eggs
-
2 cups Halloween Sprinkles, divided
-
non-stick baking spray
Instructions
-
Step 1
Preheat oven to 350°F (175°C). Grease and flour a 9×13 inch baking pan, or line with parchment paper. Use non-stick baking spray. -
Step 2
Roughly chop the Halloween Oreos. You want some larger pieces and some smaller crumbs. -
Step 3
In a large bowl, combine the French Vanilla Cake Mix, whole milk, Canola Oil, and large eggs. Mix until just combined. Do not overmix. -
Step 4
Fold in the chopped Halloween Oreos and 1 cup of the Halloween Sprinkles into the cake batter. -
Step 5
Pour the batter into the prepared baking pan and spread evenly. -
Step 6
Sprinkle the remaining 1 cup of Halloween Sprinkles evenly over the top of the batter. -
Step 7
Bake for 30-35 minutes, or until a toothpick inserted into the center comes out clean. -
Step 8
Let the cake bars cool completely in the pan before cutting into squares.
Important Information
Nutrition Facts (Per Serving)
It is important to consider this information as approximate and not to use it as definitive health advice.
Allergy Information
Please check ingredients for potential allergens and consult a health professional if in doubt.


